Installation and Upgrade
Requirements
The resource availability monitor is delivered as a self-contained docker image using the Docker Content Trust (DCT) system to ensure the integrity and publisher of all the data downloaded. Installation of the image can be undertaken on any host running docker1.
In this document the host running the monitor container is referred to as the docker host. This host must have network access to any cluster resources to be monitored so it in turn can make those resources available to the container running the monitor itself.
For example, to monitor a clustered NFS share then the docker host must be able to mount and access that share, as the docker container will require access to successfully monitor that resources availability. Also note, the process running the monitor docker image must belong to the docker group on the host OS (this is a requirement of docker).
Running under docker, the monitor tool requires a persistent location
to store its data, logs and ancillary files. This location is provided
by the host OS and mapped to the directory /tmp/hamonitor when the
container is started (see section 3 Starting the Monitor). This way
existing configurations, logs and other components are preserved
during upgrades, migrations etc.
Installation
The monitor is distributed from our docker server and is installed as follows:
-
Download and install the docker application package from www.docker.com onto the docker host machine. Start the docker daemon on the host machine.
-
In order to use the docker server, it is necessary to have a username, password combination - this should be requested using the email address docker-trust@high-availability.com.
-
In your browser, navigate to Our Docker Repo and the Harbor Login page:
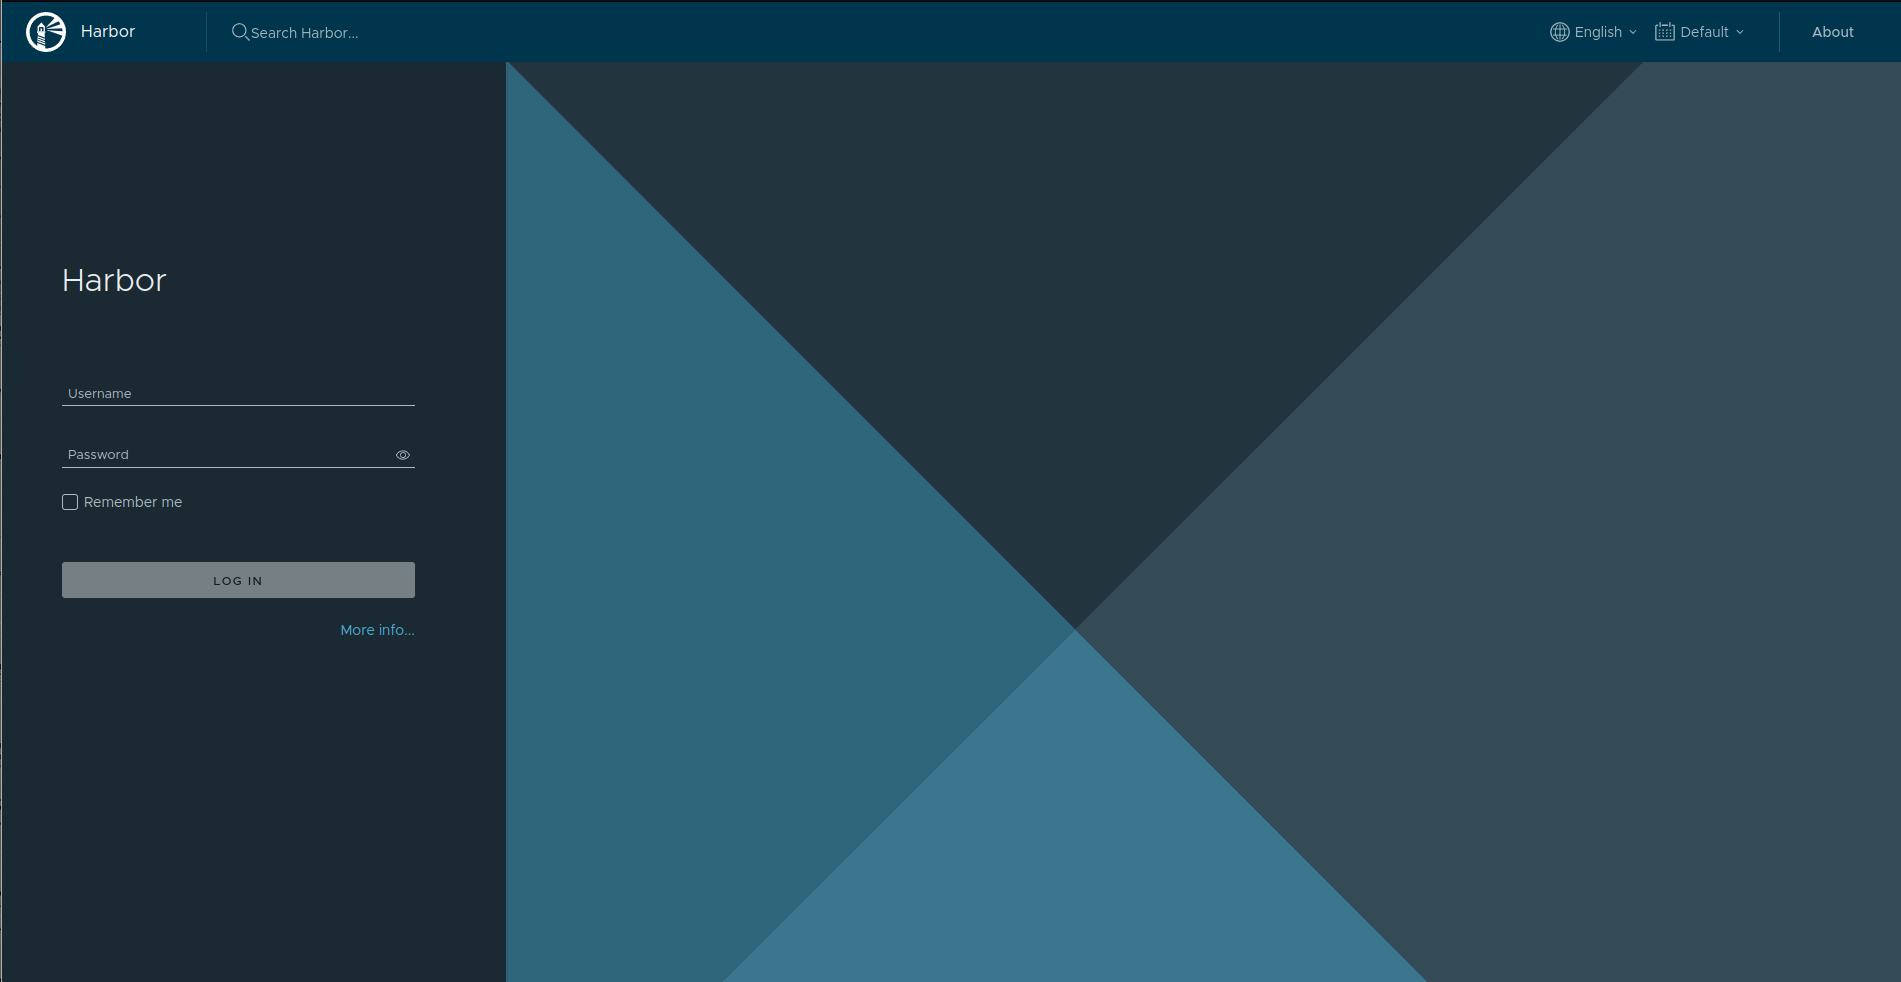
-
Login using the username/password provided in step 2. Next select the hamonitor project:
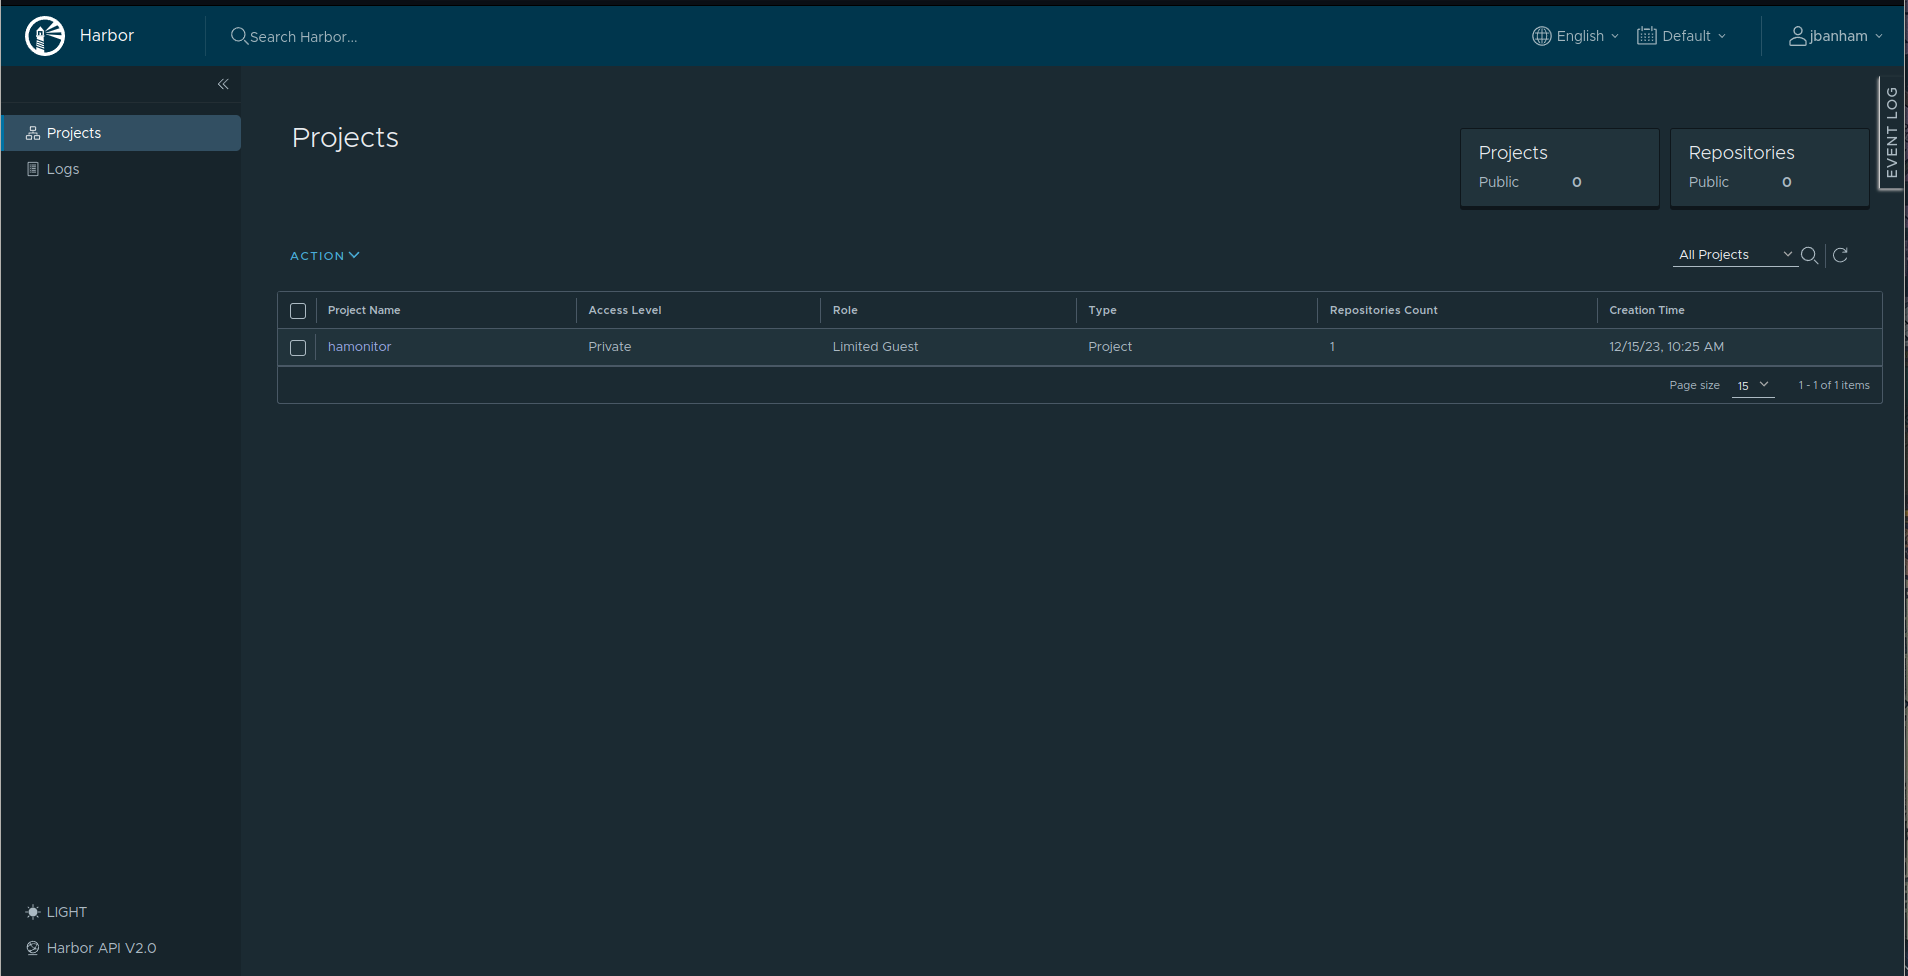
-
Then hamonitor/hamonitor:
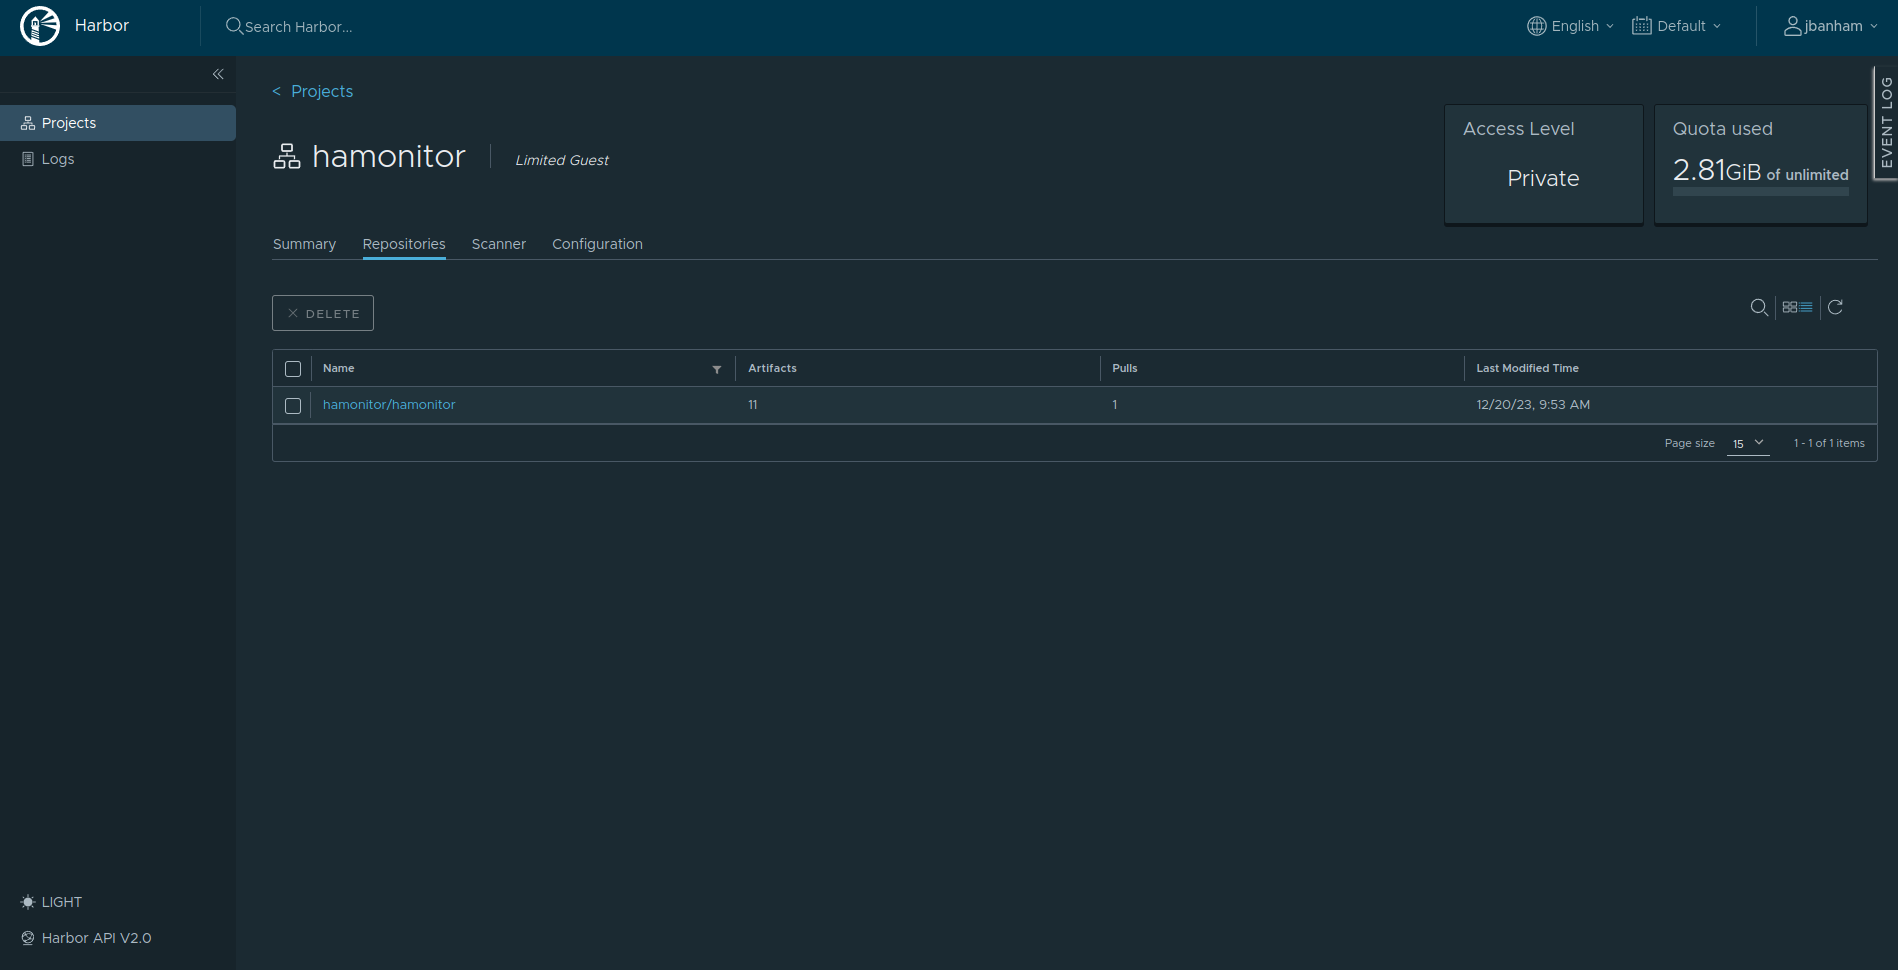
-
Here you'll see the list of hamonitor images available:
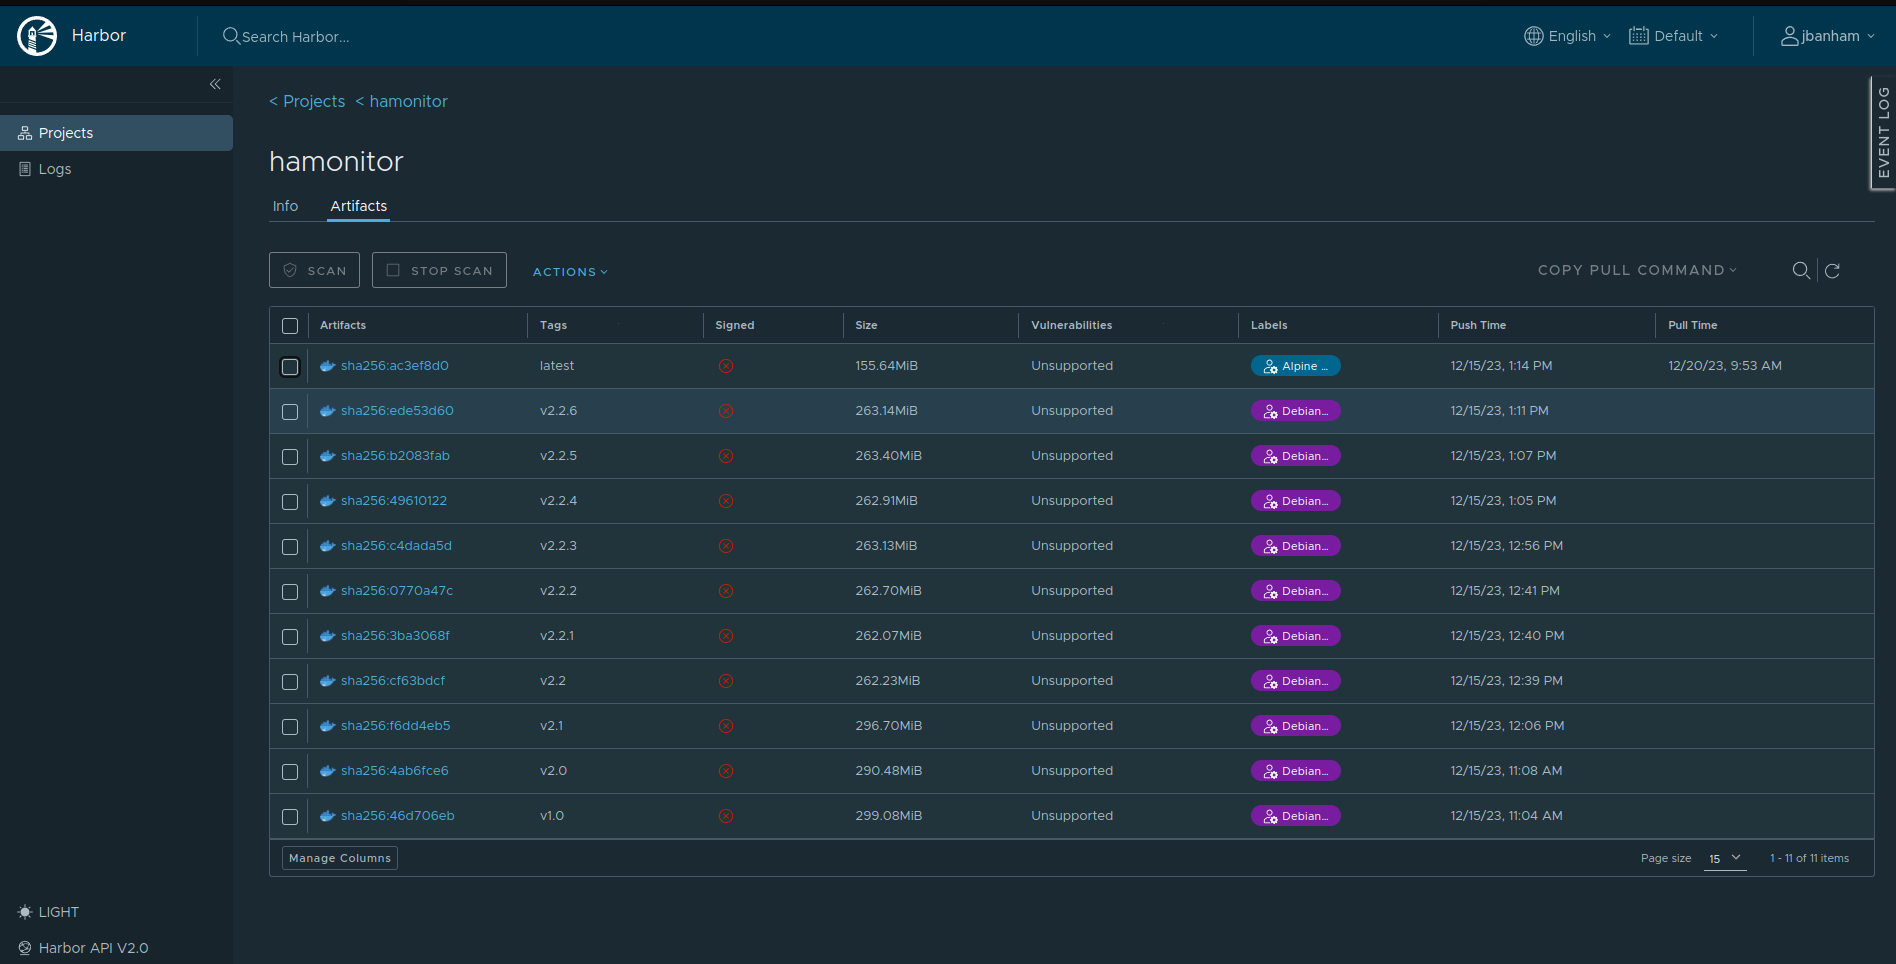
-
Select which version you want from the list, then click "COPY PULL COMMAND" and then Docker:
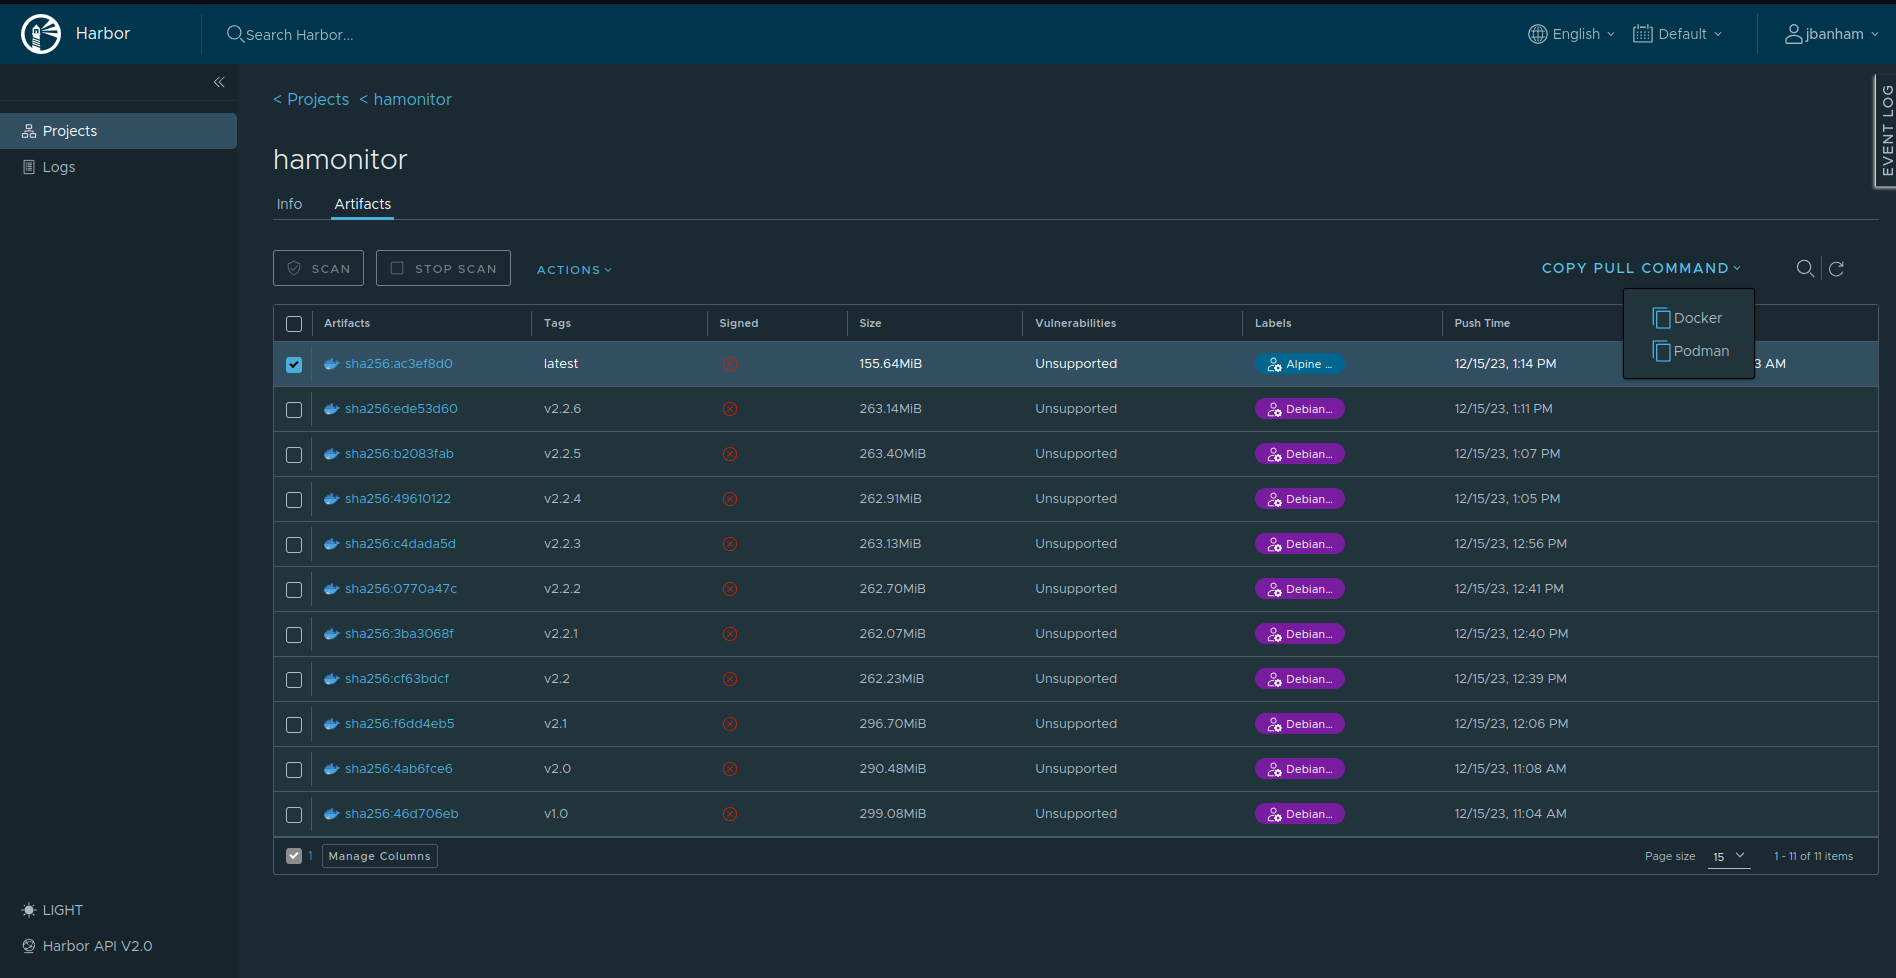
-
Next on the CLI, using the same user/password combination retrieved in step 2, login to the docker repo:
The docker login subcommand will prompt for a username and password. Note that once you have successfully logged into the server, docker saves a login token locally in the users’ home directory in the file.docker/config.jsonthereby avoiding the need for this user to login again. The token can be cleared using the docker logout subcommand. -
Paste the command copied from the browser:
The output from the docker pull should look similar to the following:# docker pull docker.high-availability.com/hamonitor/hamonitor@sha256:ac3ef8d04823562ff287a3f3a7ce83cdc07bc211586eae642ca70bc57e4819e8docker.high-availability.com/hamonitor/hamonitor@sha256:ac3ef8d04823562ff287a3f3a7ce83cdc07bc211586eae642ca70bc57e4819e8: Pulling from hamonitor/hamonitor 7264a8db6415: Pull complete 4434401d211c: Pull complete 41cf4a3cd624: Pull complete 6437156e3886: Pull complete 53e4d6276f5e: Pull complete c66b89b79141: Pull complete bb7dcefc7457: Pull complete 3ad7fad29bbf: Pull complete 1e737d0e46f2: Pull complete bf26a55235e4: Pull complete 16f1e4fb340b: Pull complete f37fa5fc1191: Pull complete d1749efd36e2: Pull complete 752b2f20cdbf: Pull complete d4fd976e8482: Pull complete 9280bcb05597: Pull complete eed64a99ae98: Pull complete 71cc6336270d: Pull complete ae79a4b91b9f: Pull complete a81de1a64b7e: Pull complete 7b97bc2e0f1b: Pull complete fc9b201d2868: Pull complete f4403c979d35: Pull complete 5f5c8731b162: Pull complete ecabd7645b77: Pull complete 3be67a56aa00: Pull complete Digest: sha256:ac3ef8d04823562ff287a3f3a7ce83cdc07bc211586eae642ca70bc57e4819e8 Status: Downloaded newer image for docker.high-availability.com/hamonitor/hamonitor@sha256:ac3ef8d04823562ff287a3f3a7ce83cdc07bc211586eae642ca70bc57e4819e8 docker.high-availability.com/hamonitor/hamonitor@sha256:ac3ef8d04823562ff287a3f3a7ce83cdc07bc211586eae642ca70bc57e4819e8
Installation and upgrade on dark sites
To install the monitor on hosts that have no external internet connection (and thus cannot make a connection to the docker trust server) necessitates a two-step approach, the result of which creates an offline image which can then be used to install the monitor on any hosts, regardless of whether they have external connectivity or not.
The first step in creating the image is to designate a download host (with internet connectivity) to download the monitor as described in the previous section. The next step is to create an image which can be shipped to the non-connected hosts and installed locally. Creating an image is accomplished as follows:
-
On the host where the monitor has been downloaded create an image of the monitor:
-
The newly created tar file (in this example
hamonitor_v2.2.6.tar) can then be copied to any host and installed using the following command: -
Finally, on the host where the image was loaded, check the image ID is the same, output will be similar to the following:
The monitor is now installed and ready to run. To upgrade a dark site
installation simply create a new image using docker image save from
the updated local image and add it to the dark site host using docker
load.
Upgrading the monitor image
You can check for updated versions via Our Docker Repo and repeat the installation steps above to pull the latest image.
As the configuration data, logs etc. for the hamonitor are kept in a
shared directory on the host machine (specified with the --volume
parameter when creating the container), upgrading to a newer version
is simply a matter of stopping the monitor, deleting the container
with the older version, then restarting with the updated version.
# docker rm hamonitor
# docker run \
    --detach \
    --name hamonitor \
    --net host \
    --privileged \
    --restart unless-stopped \
    --volume <host directory>:/tmp/hamonitor \
    dkr.high-availability.com/hamonitor:v2.2.7 \
    --publish 13514
Finally, check the running monitor:
# docker ps
CONTAINER ID   IMAGE                                 COMMAND                  CREATED         STATUS         PORTS     NAMES
c41d6c875459   dkr.high-availability.com/hamonitor   "python3 /root/api/h…"   5 minutes ago   Up 5 minutes             hamonitor
-
Note that at present docker only supports IPv6 on hosts running Linux, therefore if IPv6 monitoring is required (i.e. monitoring of shared resources over IPv6) then a Linux derivative should be chosen as the docker host. ↩