QS Config and licensing
Configuration and Licensing
To begin configuration, click on Create option on the
side-menu (or the shortcut shown on the uninitialized page).
Editing your /etc/hosts file
Before continuing, ensure the /etc/hosts
file is configured correctly on both nodes. Hostnames cannot
be directed to 127.0.0.1, and both nodes should be
resolvable. Here is a correctly configured hosts file for two
example nodes, node-a and node-b:
The Cluster Create page scans for clusterable nodes (those running RSF-1 that are not yet part of a cluster) and presents them for selection. If any nodes are unlicensed then an additional panel will be included to request 45 day trial licenses:
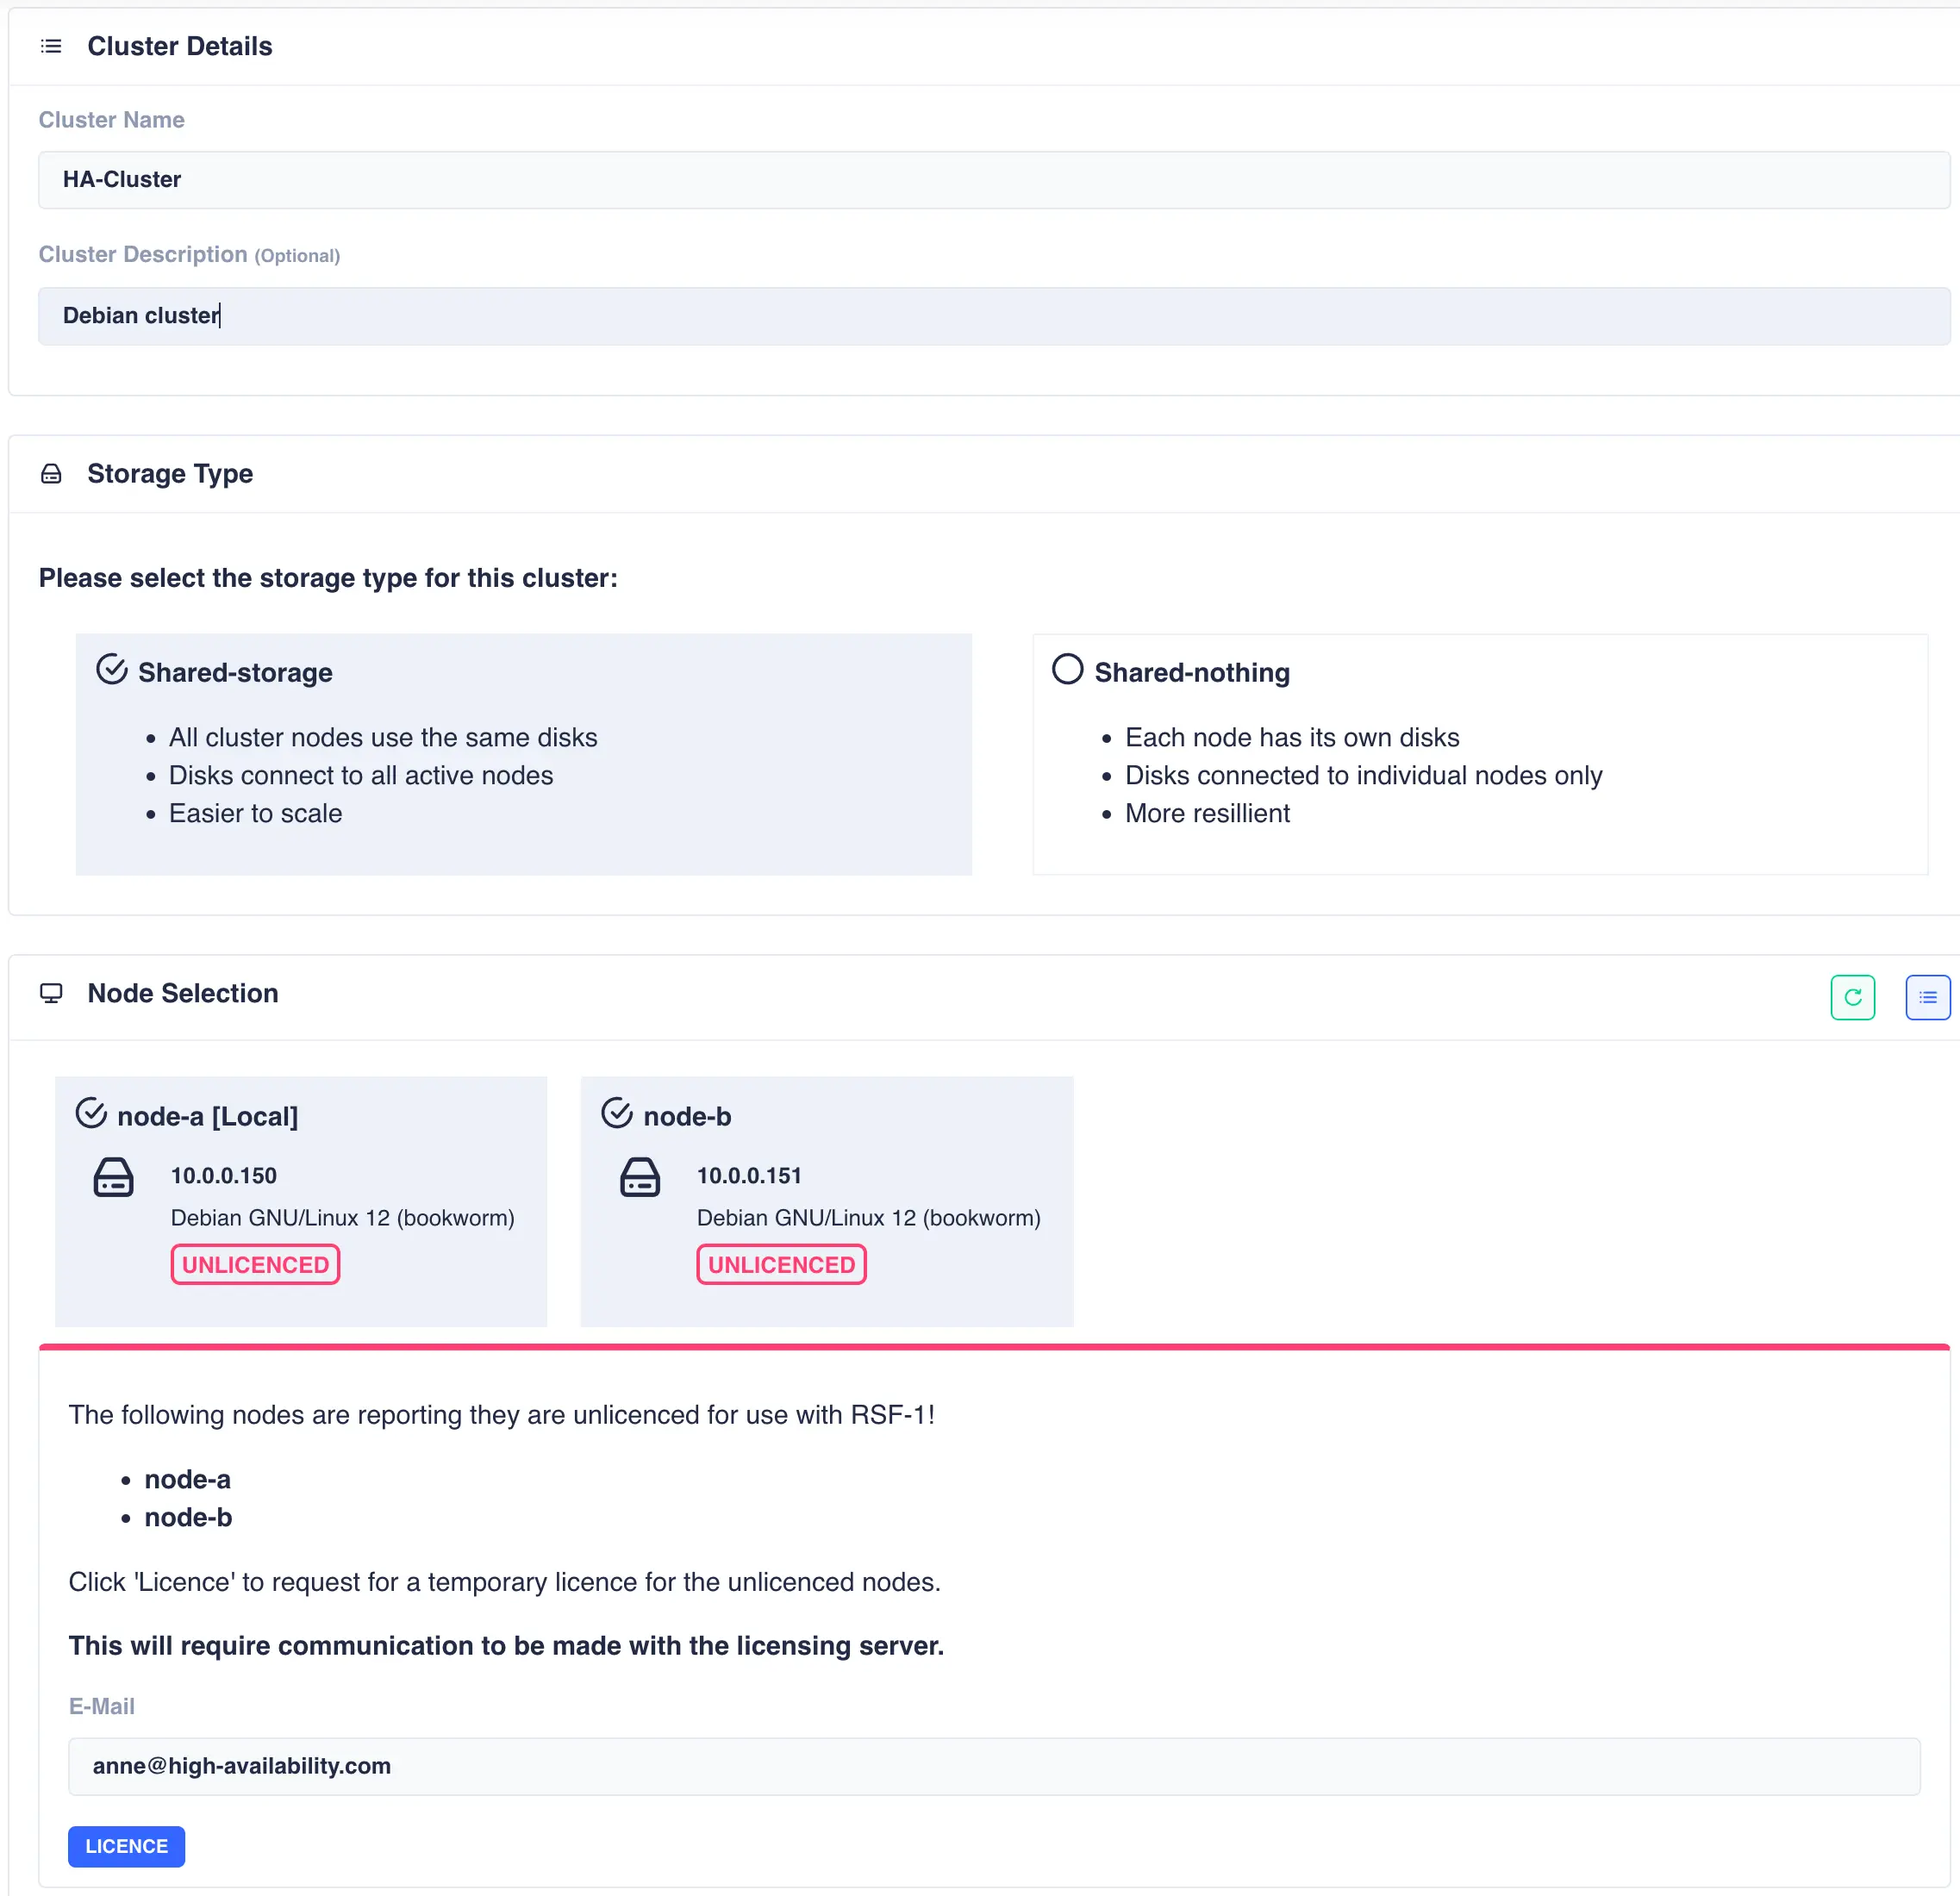
Now enter the cluster name and description, and then
select the type of cluster being created (either shared-storage or
shared-nothing).
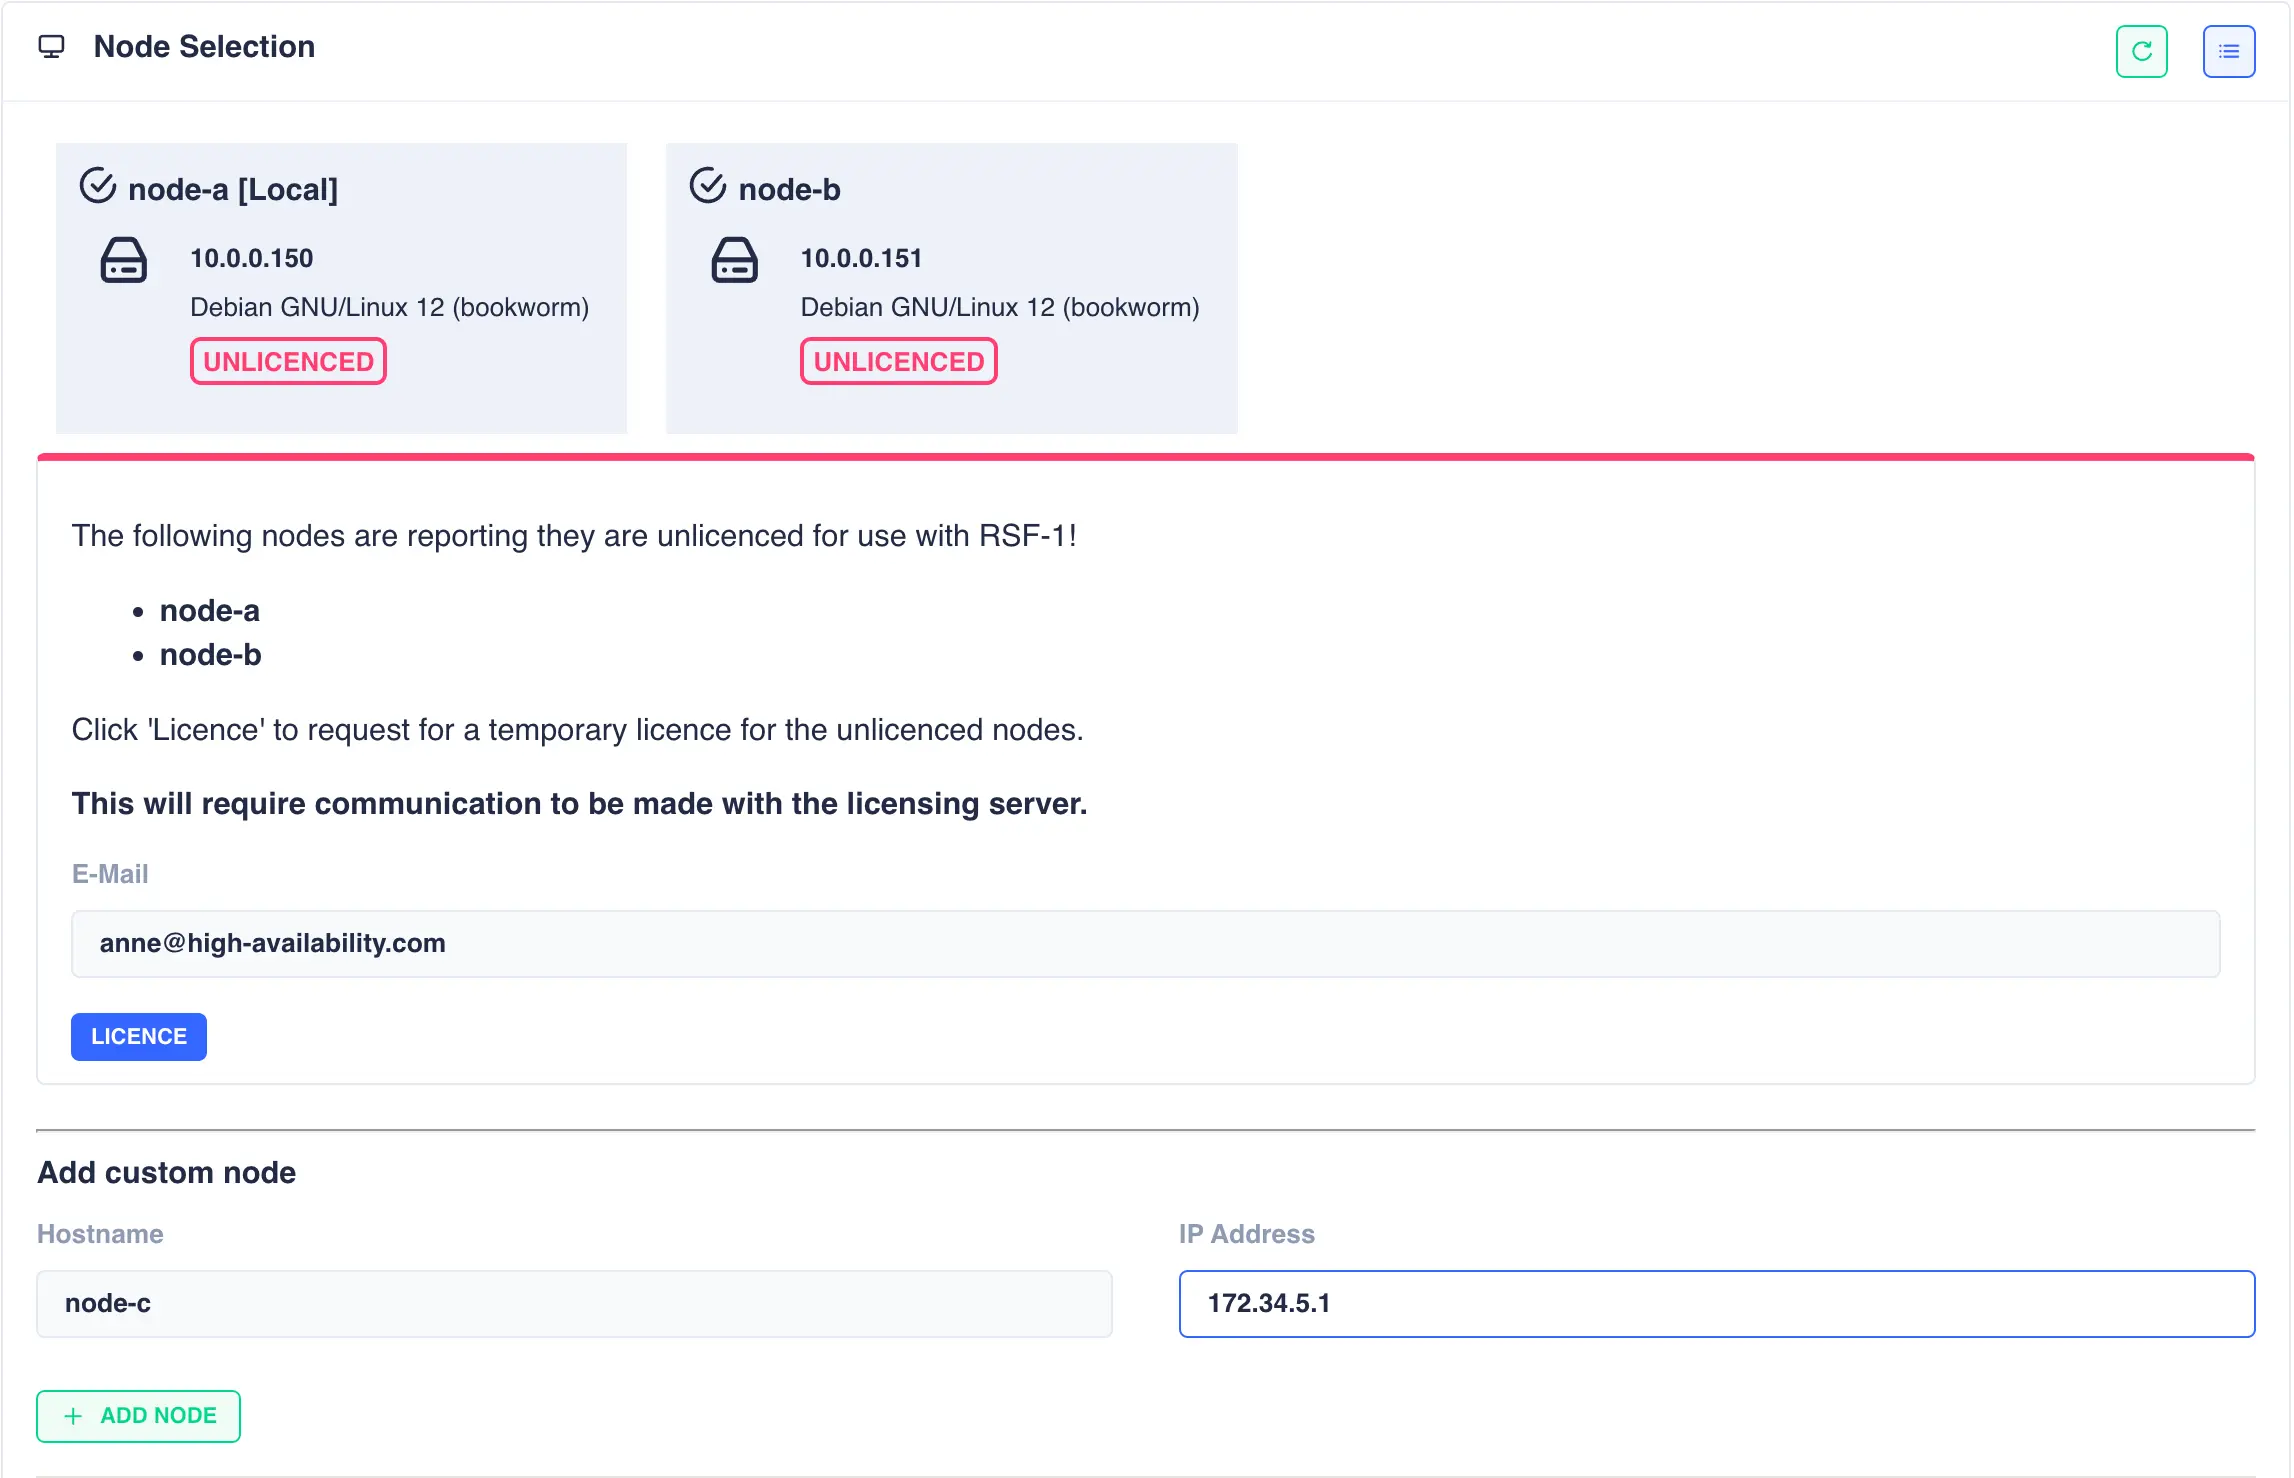
Shared-Nothing: Adding non-local nodes for shared nothing clusters
For a shared-nothing cluster an additional panel is included to allow manual entry
of a cluster node.
This option is provided as RSF-1 only detects unclustered nodes on the local network
and for shared-nothing clusters it is often the case that nodes are located on remote
networks and cannot be detected automatically1.
In this case fill in the host name and IP address of the remote node and click the + ADD NODE button:
The node will then be availble to select as the secondary node in the cluster:

Obtain trial licenses
Once the cluster nodes have been selected click the LICENCE button to obtain 45 day trial licenses directly
from the High-Availability license server. The RSF-1 End User License Agreement (EULA) will
then be displayed. Click ACCEPT to proceed:

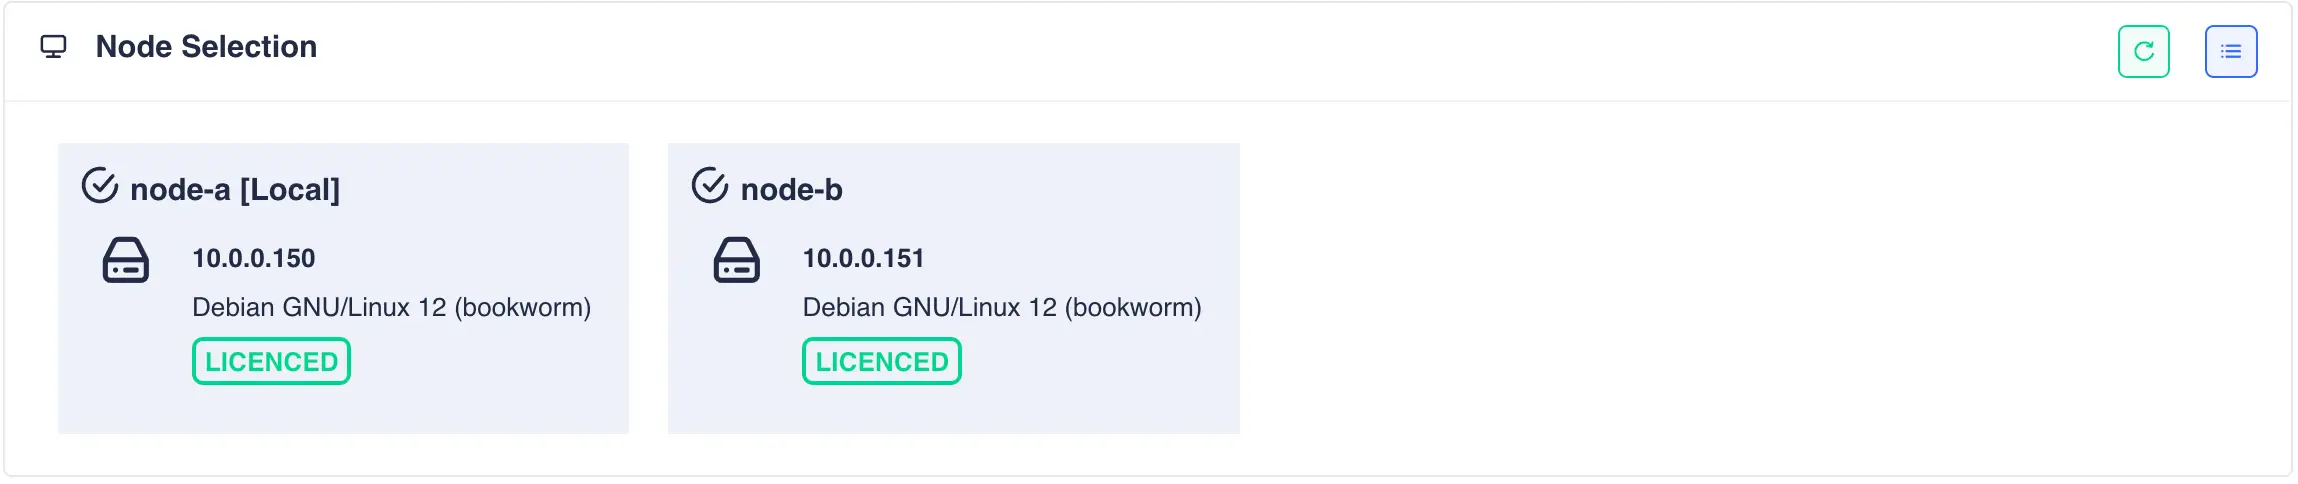
Once the licensing process has completed click the refresh button on the node selection panel to update the license status:
Shared-Nothing: Configure SSH tunnel between nodes
For shared nothing clusters an additional step is required to configure a bi-directional ssh tunnel between the two nodes. This tunnel is used to transfer snapshots between the two cluster nodes. A panel with pre-filled out values consisting of the cluster node names is presented:
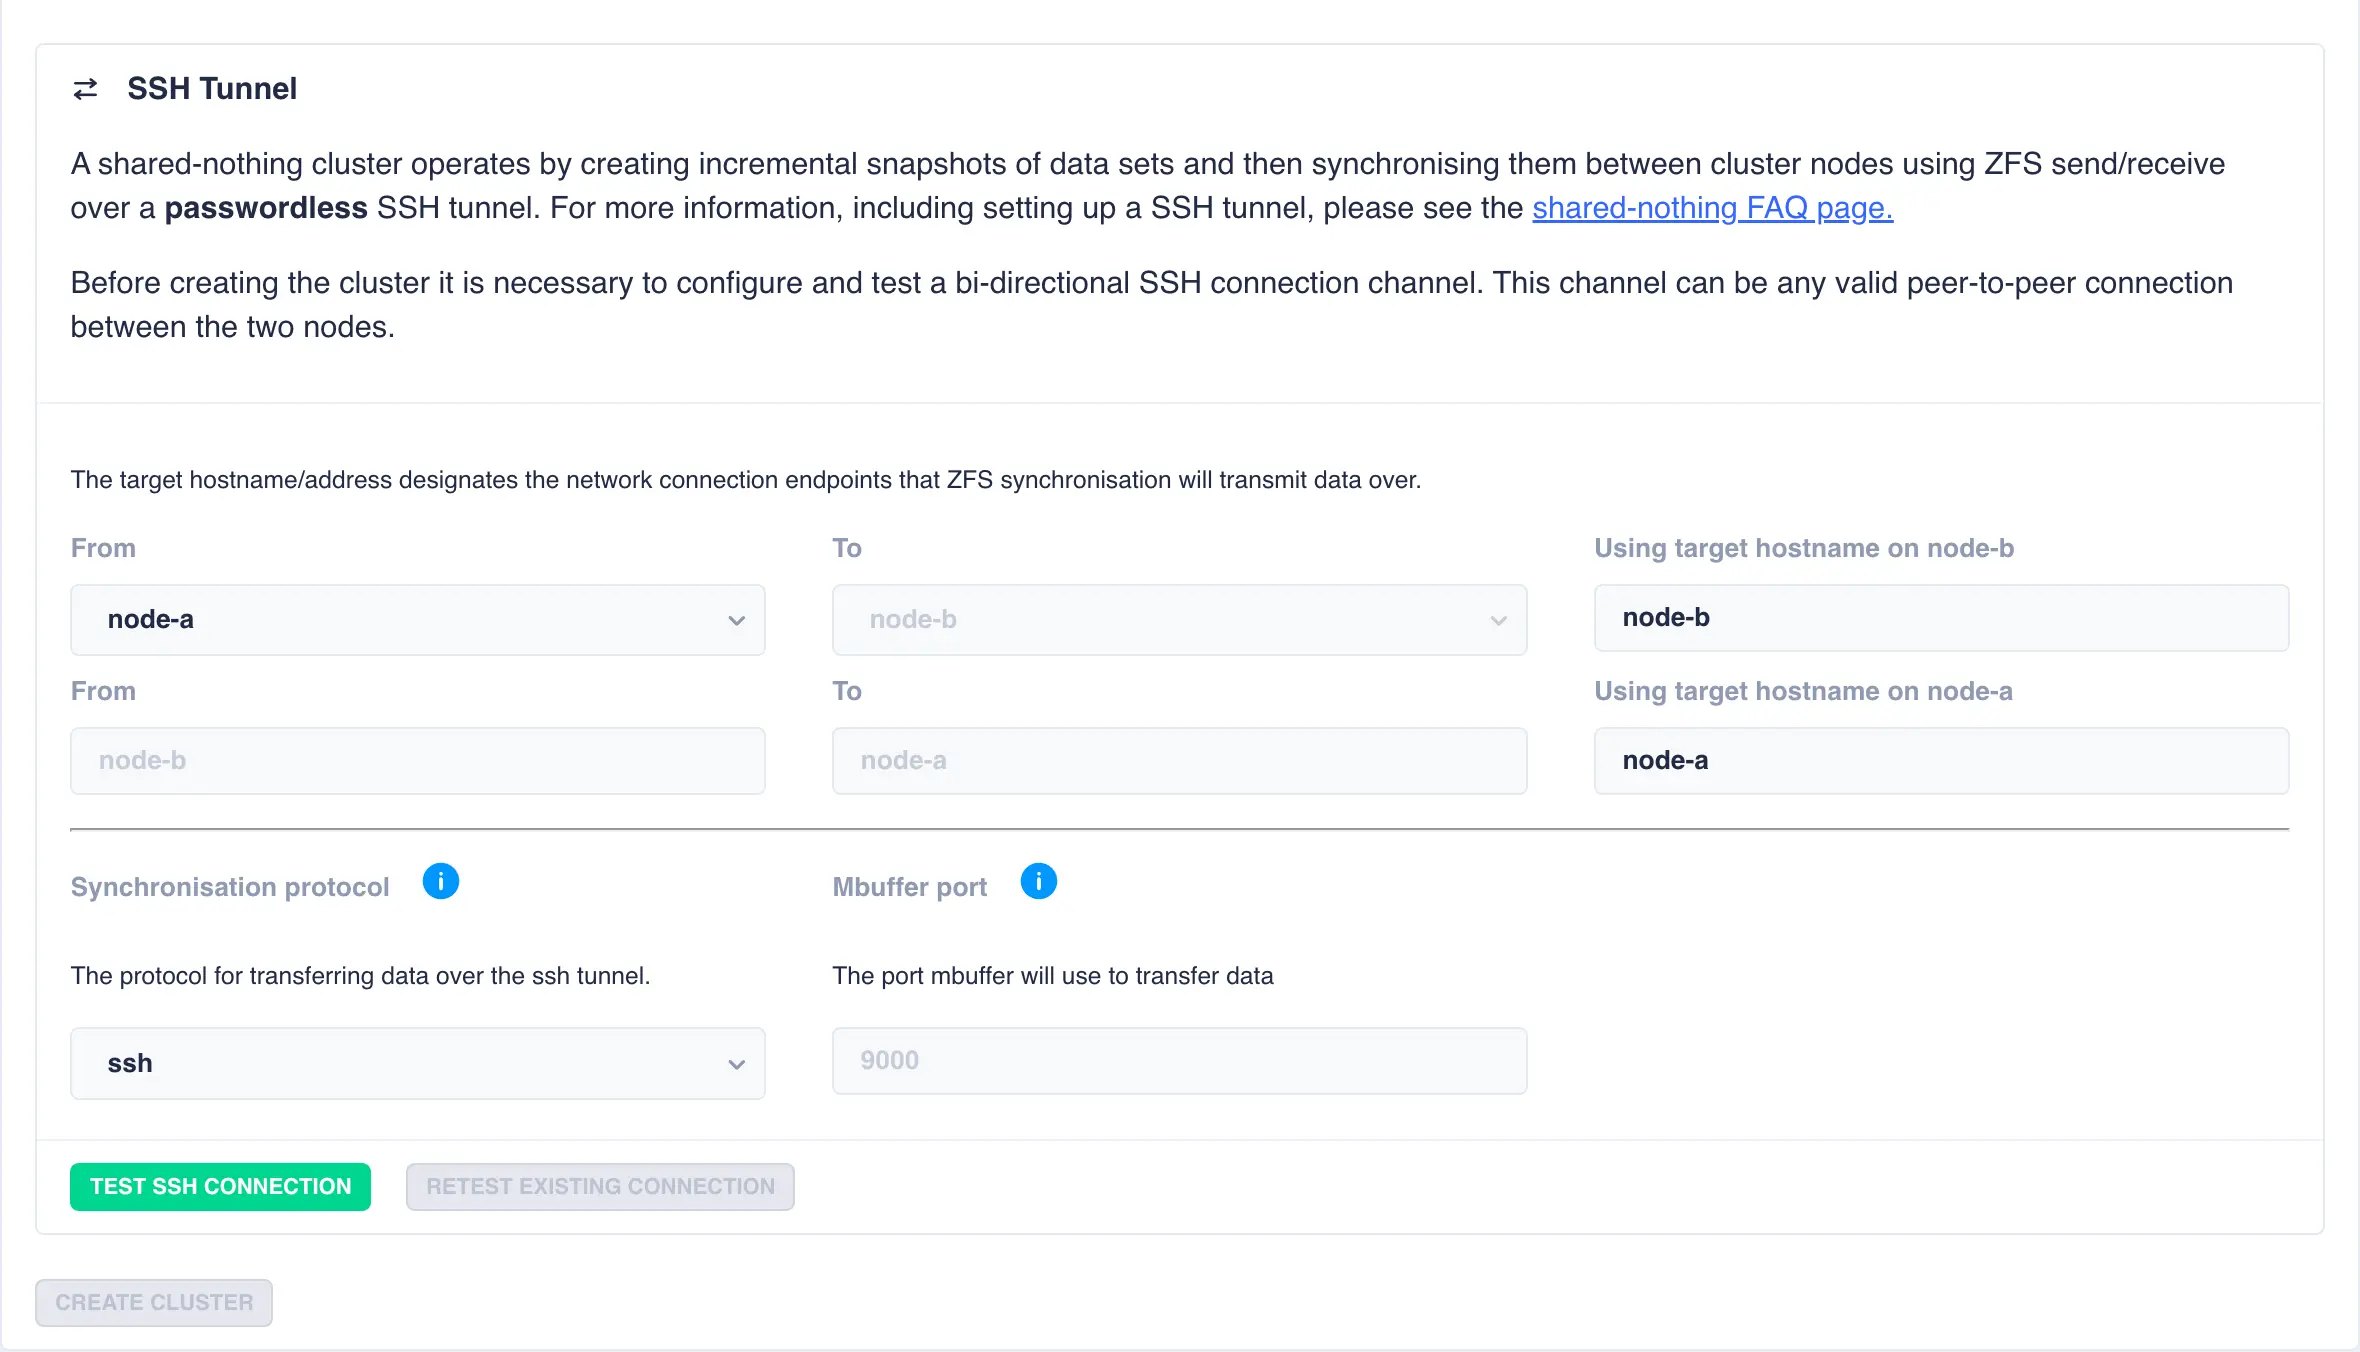
Using the default values of the cluster node names snapshot data will be transfered over
primary hosts network. However, this can be changed by specifying a different end point
for the target hostnames. For example, if an additional network is configured between the
two nodes using the addresses node-a-priv and node-b-priv respectively then this would be
configured thus:

By default ssh is used as the transport protocol as it encrypts/decrypts data during
snapshot transfer.
If data encryption is not required then mbuffer is offered as an alternative
as it makes much better utilisation of the available bandwidth:

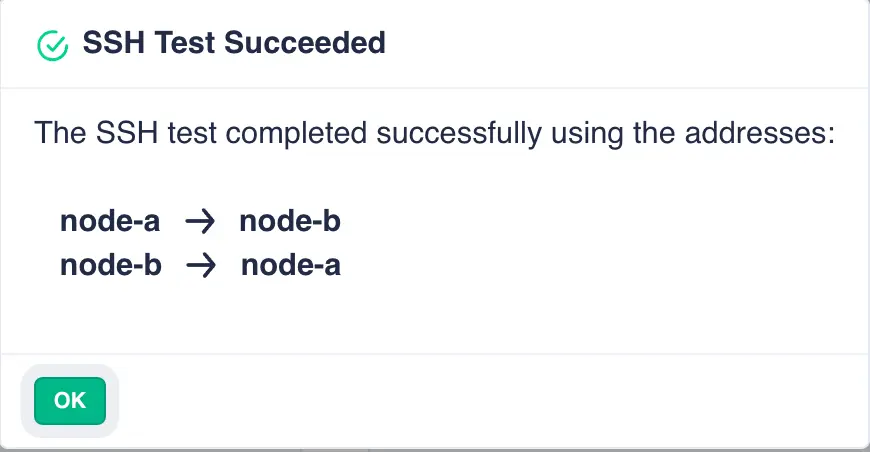
Next click the TEST SSH CONNECTION button to confirm the ssh tunnel is operating correctly:
Note
Once the cluster is created the SSH connections settings can be changed
from the Settings->Shared Nothing page.
Create and initialise the cluster
Click the CREATE CLUSTER button to cluster the nodes together and create an
initial network heartbeat between them over the hosts network:

-
RSF-1 uses broadcast packets to detect cluster nodes on the local network. Broadcast packets are usually blocked from traversing other networks and therefore cluster node discovery is usually limited to the local network only. ↩